

No products in the cart.
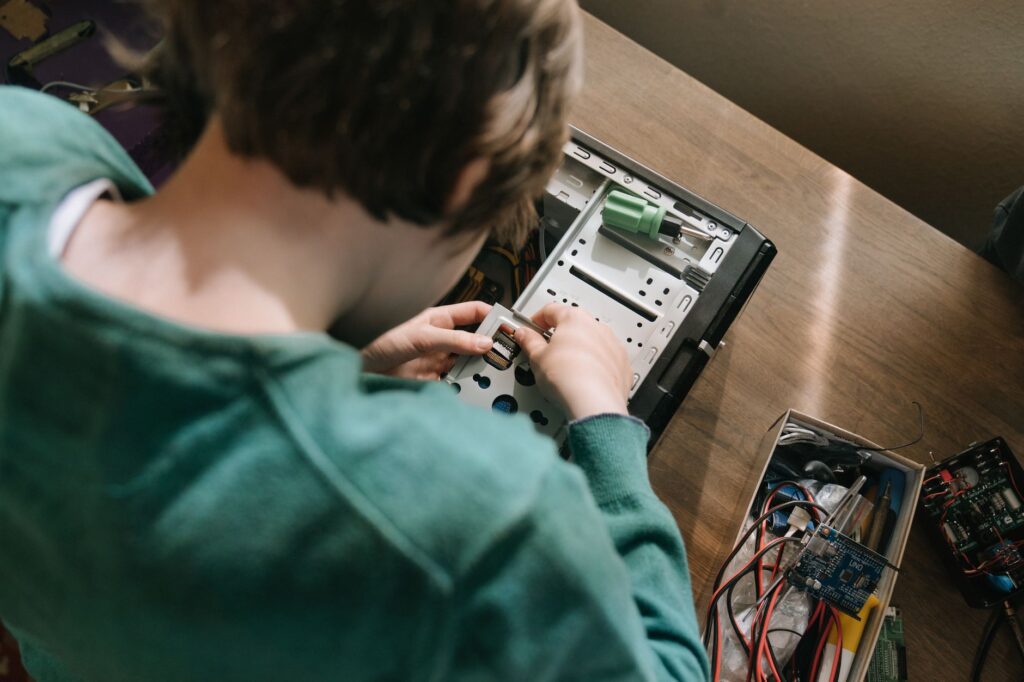
How to Move Your Windows License When Building a New PC
Table of Contents
By MCAKey Technical Team
You just finished building your new PC. Fresh components, clean cable management, and that satisfying first POST beep. Now you’re staring at the Windows activation screen wondering if you need to buy another license. You don’t — at least, not always. If you need to move your Windows license when building a new PC, the process depends entirely on what type of license you originally purchased.
Here’s the thing most people don’t realize until they’re mid-build: not all Windows licenses are created equal. Some are permanently married to your old motherboard. Others can follow you from build to build for years. And Microsoft doesn’t exactly make this distinction obvious during purchase. I’ve seen countless forum posts from builders who assumed their license would transfer, only to hit the dreaded “Windows is not activated” message on their shiny new rig.
The good news? If you have the right license type, transferring it is straightforward. Let’s figure out what you’re working with and get your new build activated.
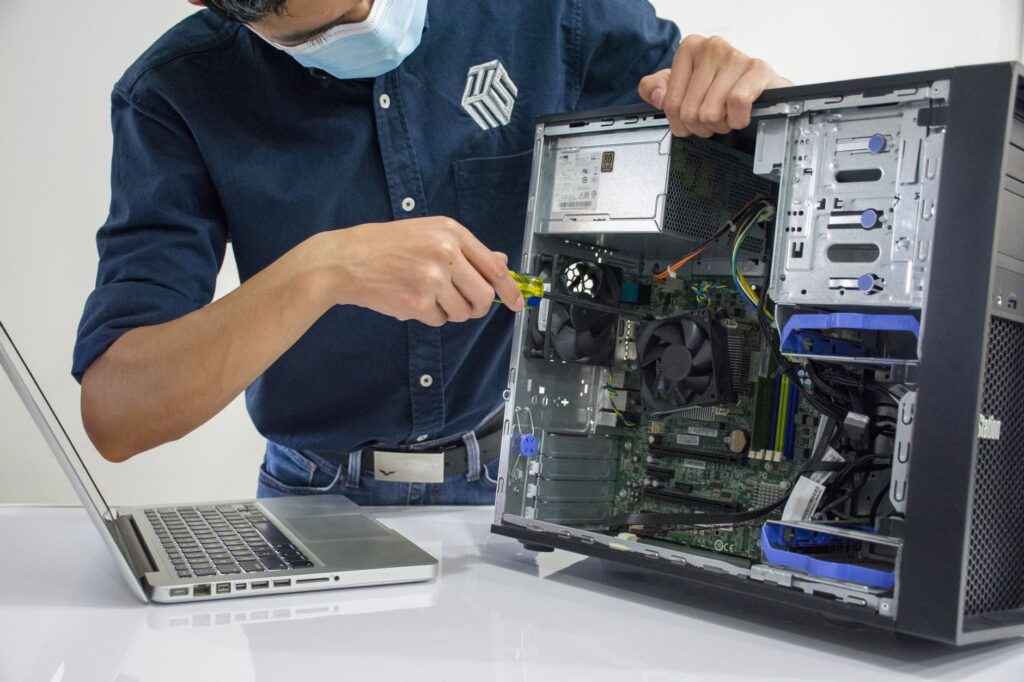
Quick Answer: How to Move Your Windows License When Building a New PC
Quick Answer
To move your Windows license when building a new PC, you must have a Retail license — OEM licenses are permanently tied to the original motherboard and cannot be transferred. First, deactivate Windows on your old PC by unlinking it from your Microsoft account or running slmgr /upk from an elevated command prompt. Then, on your new PC, go to Settings > System > Activation > Troubleshoot and select “I changed hardware on this device recently” to reactivate using your Microsoft account. If you purchased a Retail product key, you can alternatively enter it directly during Windows installation or through the Activation settings.
What Causes Windows License Transfer Problems
1. You have an OEM license, not a Retail license.
OEM (Original Equipment Manufacturer) licenses come pre-installed on store-bought PCs from Dell, HP, Lenovo, and others. These licenses are encoded into the motherboard’s firmware and legally cannot be transferred to different hardware. Microsoft considers a motherboard swap a “new computer.” This is the number one reason people fail when they try to move your Windows license when building a new PC.
2. Your digital license isn’t linked to a Microsoft account.
Windows 10 and 11 support “digital licenses” tied to your Microsoft account. If you never signed in with a Microsoft account on your old PC, the license is hardware-bound only. Without that account link, the Activation Troubleshooter won’t recognize your entitlement on new hardware.
3. The old installation wasn’t properly deactivated.
Microsoft allows Retail licenses on one device at a time. If your old PC is still running with the license active, attempting to activate your new build can trigger error 0xC004C008 (“The activation server determined the specified product key is in use”).
4. Too many hardware changes at once.
Even with a legitimate Retail license, swapping the motherboard, CPU, RAM, and storage simultaneously can make Microsoft’s activation servers suspicious. The system may flag this as a completely different device rather than an “upgrade.”
5. Corrupt license data on the old system.
If your previous Windows installation had activation issues, malware damage, or registry corruption, the license data itself may be invalid — meaning there’s nothing clean to transfer.
How to Fix Windows License Transfer Issues
Solution 1: Check Your License Type Before Doing Anything Else
This step saves you hours of frustration. Open an elevated Command Prompt and run:
slmgr /dliA dialog box will appear showing your license type. Look for the “Description” line. If it says “RETAIL channel,” you can transfer it. If it says “OEM_DM channel” or “VOLUME_KMSCLIENT channel,” that license stays with your old hardware.
In my experience, about 70% of people who think they have a transferable license actually have OEM. If you’re in that group, you’ll need a new Windows license from an authorized reseller for your build.
Solution 2: Link Your License to a Microsoft Account Before the Transfer
Do this on your OLD PC before you disassemble it. This is the step most guides skip, and it’s the one that causes the most headaches later.
Go to Settings > System > Activation. You should see “Windows is activated with a digital license.” If it says “linked to your Microsoft account,” you’re set. If not:
- Go to Settings > Accounts > Your info
- Sign in with your Microsoft account (or create one)
- Return to Settings > System > Activation
- The status should now show “linked to your Microsoft account”
This link is what allows the Activation Troubleshooter to recognize your license on completely different hardware. Without it, you’re stuck entering product keys manually — assuming you still have yours.
Solution 3: Deactivate Windows on Your Old PC
If your old PC is still functional, run this command to uninstall the product key:
slmgr /upkThen clear the key from the registry so it doesn’t accidentally reactivate:
slmgr /cpkyBoth commands require an elevated Command Prompt (run as Administrator). You’ll see confirmation dialogs for each. Your old PC will now show “Windows is not activated,” which is exactly what you want — it frees the license for your new build.
WARNING: Only do this if you’re certain you won’t need Windows on the old hardware again. There’s no undo button.
Solution 4: Activate Your New PC Using the Hardware Change Troubleshooter
Once Windows is installed on your new PC and you’re signed into the same Microsoft account:
- Go to Settings > System > Activation
- You’ll likely see “Windows is not activated” with error 0x803F7001
- Click “Troubleshoot”
- Select “I changed hardware on this device recently”
- A list of devices linked to your account appears — select your old PC’s name
- Check “This is the device I’m using right now”
- Click Activate
This process tells Microsoft’s servers to move your Windows license when building a new PC from the old hardware fingerprint to your new one. It typically completes in under a minute.
Solution 5: Use Phone Activation for Stubborn Cases
If the Troubleshooter fails or you have a Retail product key without a Microsoft account link, phone activation still works. Run:
slui 4Select your country, then call the toll-free number displayed. An automated system will ask you to read a 48-digit Installation ID and will provide a 42-digit Confirmation ID to enter. It sounds tedious — because it is — but it bypasses the online activation servers entirely. I’ve used this method successfully when the standard process threw error 0xC004C003 repeatedly.
How to Prevent This in the Future
Always buy Retail licenses if you build PCs regularly. Yes, they cost more than OEM keys. But a Retail license can move from build to build indefinitely. Over three or four builds, it’s actually cheaper. When you need to move your Windows license when building a new PC five years from now, you’ll be glad you spent the extra $30-50 today.
Link your digital license to a Microsoft account immediately after activation. Don’t wait until you’re mid-transfer to discover it wasn’t linked. This takes 30 seconds and saves hours of troubleshooting.
Keep your original product key somewhere safe. Digital licenses are convenient, but having the 25-character key as a backup gives you options. I keep mine in a password manager.
Document your hardware changes. If Microsoft’s servers ever question your activation, being able to explain “I upgraded from an Intel 12th gen to 14th gen” with dates helps support resolve issues faster. Check Microsoft’s Windows support documentation for their current policies on hardware changes.
Frequently Asked Questions
Can I transfer a Windows OEM license to a new motherboard?
No. OEM licenses are permanently bound to the original motherboard and cannot legally be transferred to different hardware. When you replace the motherboard, Microsoft considers it a new computer. You will need to purchase a new Windows license — either Retail (transferable) or OEM (non-transferable) — for the new build.
What happens if I don’t deactivate Windows on my old PC before building a new one?
Your new PC activation may fail with error 0xC004C008, indicating the product key is already in use on another device. Microsoft Retail licenses permit activation on only one device at a time. You can still activate the new PC using the Activation Troubleshooter’s “I changed hardware” option, which automatically deactivates the old device.
How do I find my Windows product key if I lost it?
On an activated Windows PC, open an elevated Command Prompt and run wmic path softwarelicensingservice get OA3xOriginalProductKey. This retrieves the key stored in firmware for OEM systems. For Retail digital licenses linked to a Microsoft account, no product key retrieval is necessary — the license transfers via your account, not a key.
Why does Windows say “not activated” after I only changed my motherboard?
Windows uses a hardware fingerprint that weighs the motherboard most heavily. Changing the motherboard alone is enough to trigger reactivation requirements, even if all other components remain identical. To move your Windows license when building a new PC with a new motherboard, use the Activation Troubleshooter and select “I changed hardware on this device recently.” If you’re still running into Move Your Windows License When Building a New PC. after trying the steps above, work through them once more in order — most cases resolve without needing anything more advanced. Move Your Windows License When Building a New PC. is frustrating, but it’s rarely a sign of serious hardware failure — in most cases it’s a driver or configuration issue like the ones covered here. Keep this guide handy if Move Your Windows License When Building a New PC. comes back after a Windows update, since driver-related regressions are the most common repeat cause. A fresh driver install resolves Move Your Windows License When Building a New PC. in the majority of cases we see, so start there before assuming it’s a hardware fault. Move Your Windows License When Building a New PC. that returns right after a Windows update almost always points back to a driver conflict, not new hardware failure. Most people fixing Move Your Windows License When Building a New PC. for the first time are done within ten minutes once they know which driver to update. If none of the steps above resolve Move Your Windows License When Building a New PC., check whether it only happens on battery power or only when plugged in — that narrows it down fast. Move Your Windows License When Building a New PC. caused by a driver issue is one of the most common support requests we see, and also one of the easiest to fix for good.
Conclusion
Transferring a Windows license to a new build is painless — if you have a Retail license and follow the right steps. Link it to your Microsoft account before the swap, deactivate the old PC, and use the Troubleshooter on the new one. For more activation walkthroughs and troubleshooting guides, visit our Help Center.
Still stuck? Contact MCAKey support at https://mcakey.com/contact-us/ — we typically respond within a few hours.
Save on your order — use code FIXIT10
Limited-time, limited-use offer. Redeem it before it's gone.